
IKEv2 VPN protocol is extremely secure while also providing high stability and performance speed. Therefore, it is one of the recommended VPN services for use on your device. This guide will step you through the security certificate installation and IKEv2 setup on the macOS platform.
First, follow these steps to import the certificate:
1. First, you have to install the security certificate provided by Wedge Networks. Please click on WedgeARP™ - Public Key to save it to your computer. Once saved, double-click the certificate file. Keychain Access will pop up with a dialog that asks if you want to add the certificate to a keychain. Click Add to add it to the login keychain for the current user.

2. In the Keychain window, select login under Keychains, and All Items under Category. Enter WedgeARP into the search box in the upper right. You should see WedgeARP Certificate (or similar) showing in the list, with a red icon indicating that it isn’t trusted.
3. Double-click the certificate entry in the list. This brings up a window where you can specify the trust levels. Expand the Trust section, and set both Secure Sockets Layer (SSL) and IP Security (IPSec) to Always Trust. 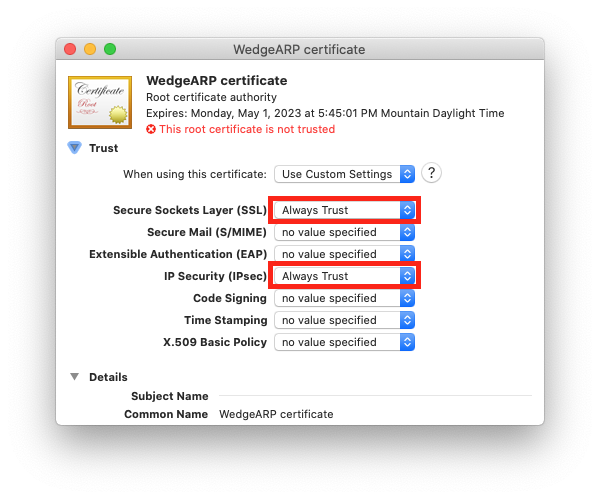
4. Close the window and you’ll be prompted for your password to make changes to the Certificate Trust Settings.
5. Enter your password, then click Update Settings. The settings will be saved.
Now that the certificate has been imported and trusted, configure the VPN connection with the following steps:
1. Go to System Preferences > Network.
2. Click + to create a new service.

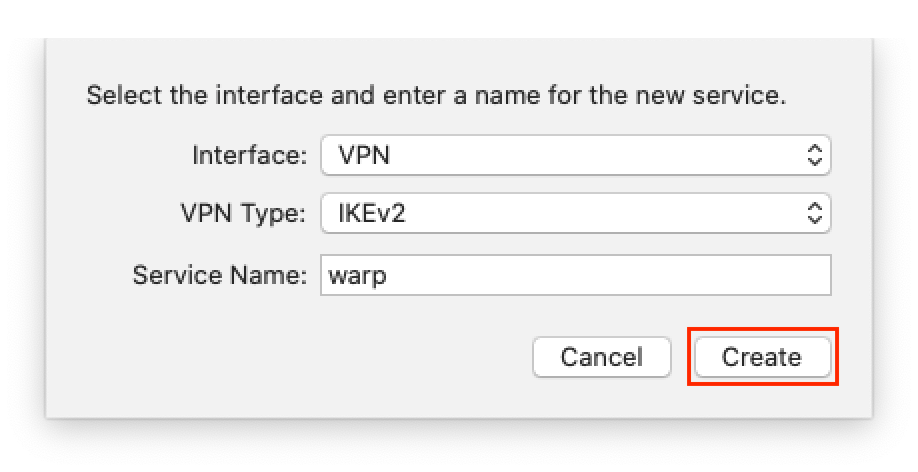
3. Enter the following:
When you are finished, click on Create.
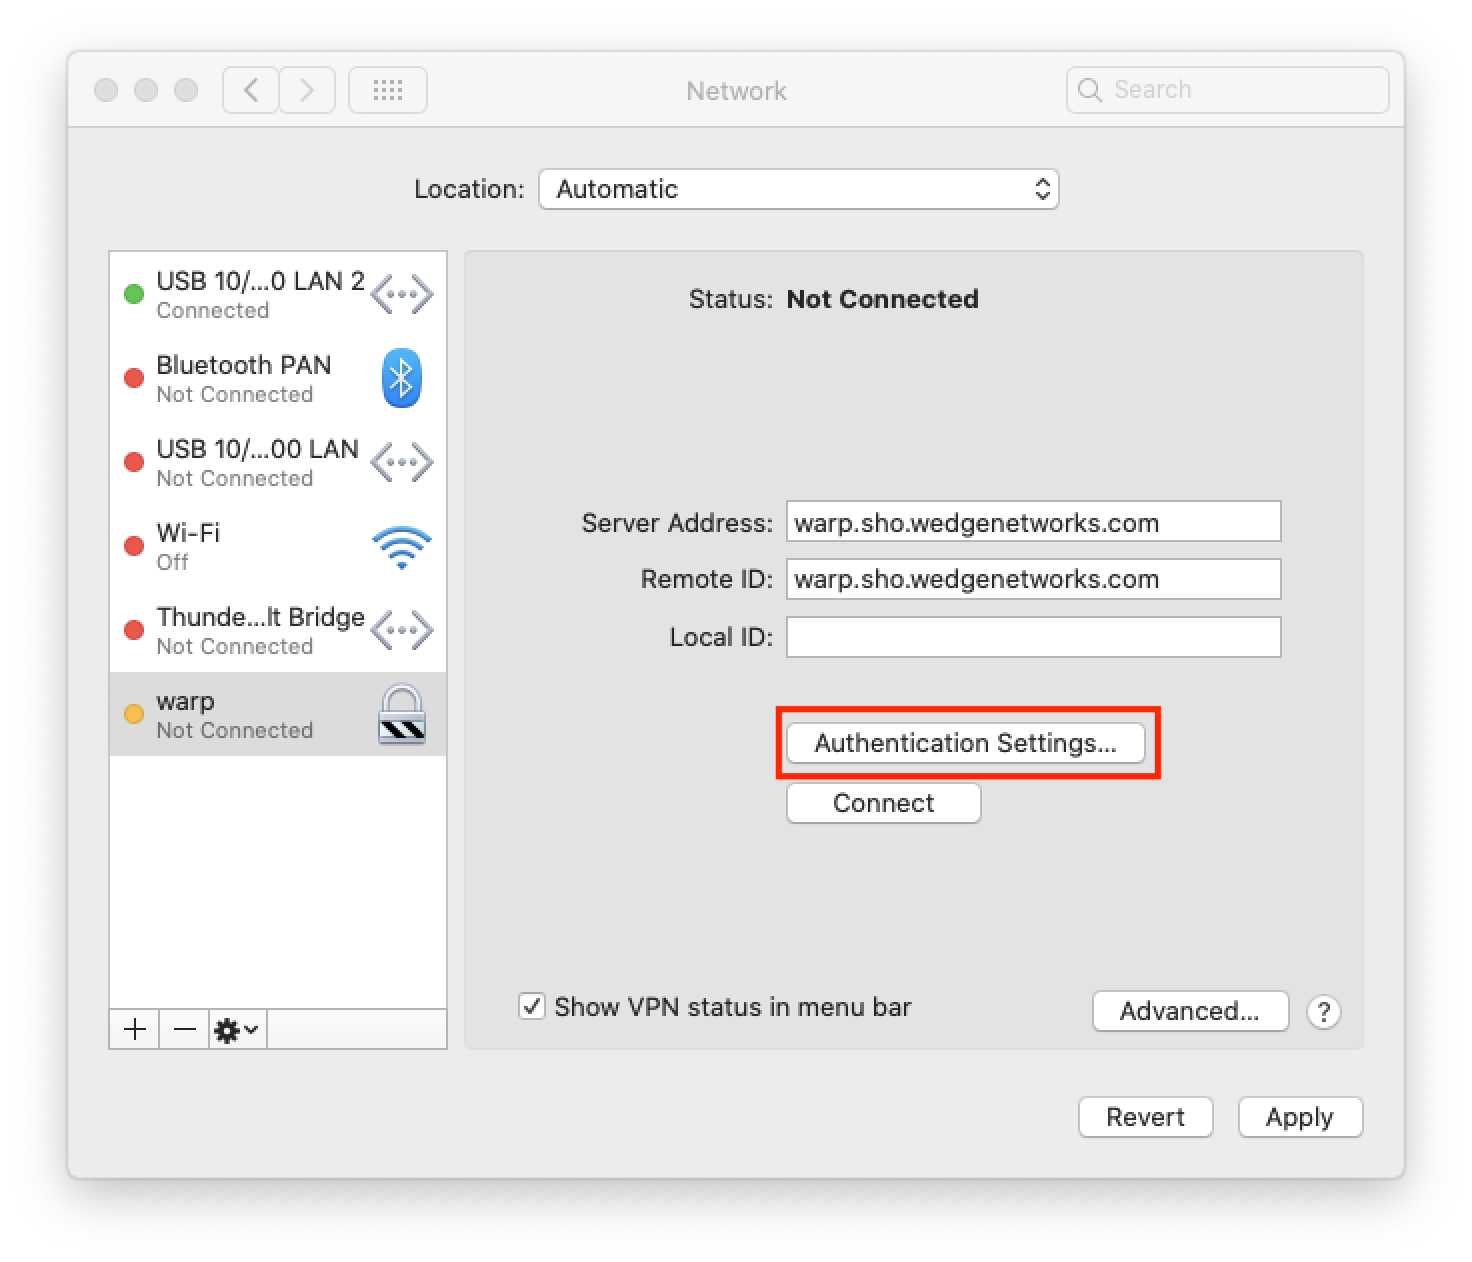
4. Input the following data:

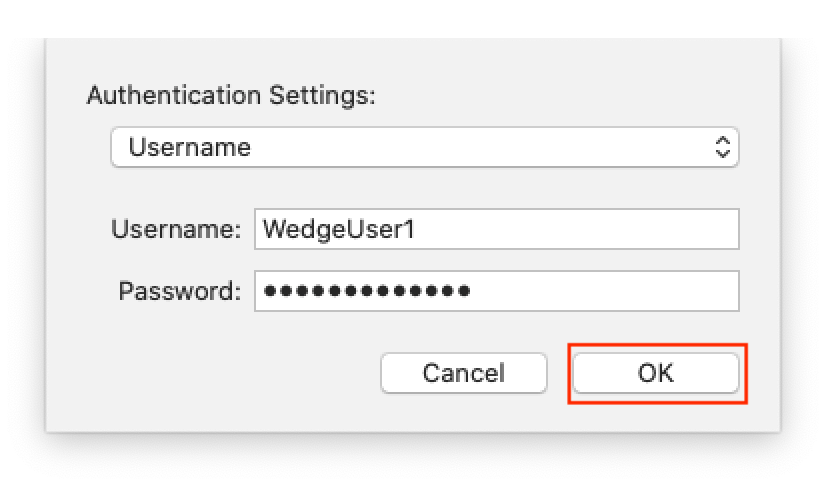
5. On the same screen, click Authentication Settings and enter the following:
When you are finished, click on OK and then Apply.
6. Click Connect and the VPN connection will be established in few seconds.
You are now running a VPN connection through the IKEv2 protocol.
Note: WedgeARP™ Secure Home Office assigns a static IP address per user tunnel. A user can only have ONE active tunnel at a time. The most recent connection will become the active tunnel for the user.
Caution: Please note that you will need to configure your device using the generated settings by yourself and at your own risk.
For further information, please contact Wedge Sales Support Centre at: 1-888-276-5356.